Most homeowners think roof stormproofing just means putting down better shingles before hurricane season. That assumption costs people thousands of dollars every year. Roof stormproofing is actually a full-system approach that addresses every layer of your roof, from the deck up, to resist wind, hail, rain, and snow. This guide walks you through what a truly storm-resistant roofing system looks like, how it gets installed correctly, how to maintain it over time, and how to choose the right materials for where you live.
Table of Contents
- Key takeaways
- What is roof stormproofing, exactly?
- How to stormproof a roof: installation best practices
- Stormproof roof maintenance: what to do every year
- Choosing the right storm-resistant roofing materials
- My perspective on stormproofing and homeowner mistakes
- Ready to protect your roof before the next storm?
- FAQ
Key takeaways
| Point | Details |
|---|---|
| Stormproofing is a full system | Shingles alone don’t protect your home. Every layer, from decking to ventilation, plays a role. |
| Installation quality matters most | Even the best materials fail if they’re installed incorrectly or with insufficient fastening. |
| Maintenance extends protection | Routine inspections, gutter cleaning, and branch trimming directly reduce storm damage risk. |
| Certifications save money | FORTIFIED Roof and windstorm certifications can lower your insurance premiums significantly. |
| Regional risk changes your choices | Material selection should match your local storm profile, whether that’s wind, hail, or heavy rain. |
What is roof stormproofing, exactly?
Roof stormproofing is the process of reinforcing your entire roofing system so it can withstand severe weather without failing. The key word there is “system.” Most people focus on the surface shingles, but storm-proofing is holistic, meaning that poor underlayment or flashing compromises your entire roof even if the shingles are top-of-the-line.
Think about the forces a roof faces during a major storm. Wind creates uplift pressure that tries to peel the roof away from the structure. Hail punches through shingles and weakens the waterproofing below. Rain driven sideways by high winds finds every unsealed gap. Ice dams form at eaves and force water backward under shingles. A roof stormproofing strategy addresses all of these threats at once, not just one.
Here’s a breakdown of the five major components that work together in a stormproof roof:
- Shingles: The outer layer takes the first hit. Class 4 impact-resistant shingles must survive a 2-inch steel ball dropped twice from 20 feet without cracking. That’s the UL 2218 standard, and it’s the gold standard for hail zones.
- Underlayment: This is the secondary water barrier beneath your shingles. If shingles are damaged or blown off, a quality underlayment buys time and prevents interior water damage.
- Flashing and starter strips: These seal the most vulnerable areas of a roof, including valleys, edges, and penetrations around chimneys and vents. Improperly installed flashing is one of the most common causes of post-storm leaks.
- Hurricane straps and clips: A hurricane strap connecting roof trusses to wall studs is the structural backbone of storm resistance. Without it, wind uplift can literally peel a roof off a house in high-wind events.
- Attic ventilation: Balanced attic ventilation prevents pressure buildup inside the attic during storms, which reduces the chance of wind damage blowing out your roof sheathing from the inside.
Pro Tip: When evaluating a contractor’s proposal, ask specifically what wind rating the shingles carry and whether hurricane clips will be installed or inspected. If they can’t answer both questions immediately, that’s a red flag.
How to stormproof a roof: installation best practices
Getting the materials right is only half the job. Quality installation impacts storm performance more than material choice alone. Here’s how proper installation separates a stormproof roof from a standard one.
-
Use six nails per shingle in high-wind areas. Standard installation uses four nails per shingle. In tornado-prone or coastal regions, six nails per shingle significantly reduce the risk of shingle blow-off during sustained winds. This single detail can make or break your roof’s performance in a storm.
-
Upgrade to ring-shank nails for the decking. Standard smooth-shank nails back out under repeated wind pressure. Ring-shank nails improve wind uplift resistance and can even be retrofitted in some cases without a full roof replacement. It’s one of the highest-value upgrades per dollar spent.
-
Install a peel-and-stick membrane under shingles. A self-adhering membrane provides a sealed secondary barrier against wind-driven rain. In Florida’s High-Velocity Hurricane Zone, this is required by code. In North Georgia, it’s a smart upgrade that pays for itself the first time a severe storm rolls through.
-
Flash all penetrations and transitions properly. Every pipe boot, chimney, skylight, and valley needs step flashing, counter flashing, or pre-formed metal flashing installed correctly. These are the spots where most storm-related leaks originate.
-
Hire a licensed and insured contractor. This is non-negotiable. Certification from the manufacturer and state licensing means the contractor has been trained to install to the spec that your warranty requires. Unlicensed work voids most manufacturer warranties and can create problems with insurance claims.
Pro Tip: Ask your contractor for the installation spec sheet from the shingle manufacturer before the job starts. It tells you exactly how many nails, what spacing, and what overlap is required. If the crew deviates from it, you have documented proof for a warranty claim or insurance dispute.
Stormproof roof maintenance: what to do every year
Even the best stormproof installation degrades without attention. Roof storm protection is not a one-time investment. It’s an ongoing practice.
- Inspect for loose or missing shingles twice a year. Do this in spring after winter storms and in late summer before hurricane season. Missing shingles expose underlayment, which degrades quickly under UV exposure and rain.
- Check all flashing for corrosion and separation. Flashing around chimneys and vents is the most common failure point. Metal corrosion and caulk breakdown are visible from the ground with binoculars or during a professional inspection.
- Trim overhanging branches before storm season. Trimming branches and clearing gutters reduces debris impact and water damage risk during storms. A branch falling on your roof in a 70 mph wind event can punch through shingles and underlayment in a single impact.
- Clean gutters every spring and fall. Blocked gutters cause water to back up under shingles at the eaves. This is one of the leading causes of fascia rot and interior water damage, and it’s entirely preventable.
- Schedule a professional post-storm inspection. After any significant hail or wind event, have a licensed contractor inspect the roof. Hail damage is often invisible from the ground but causes shingle granule loss that accelerates aging by years.
Asphalt roofs older than 15 to 20 years in coastal and high-humidity regions carry significantly elevated failure risk during storms. If your roof is approaching that age, an inspection isn’t optional. It’s urgent.
Keeping records of your inspections and maintenance also matters. Insurance companies increasingly look for documented proof of maintenance when processing storm damage claims. A roof that shows signs of neglect may receive a reduced payout, even when the damage is clearly storm-related.
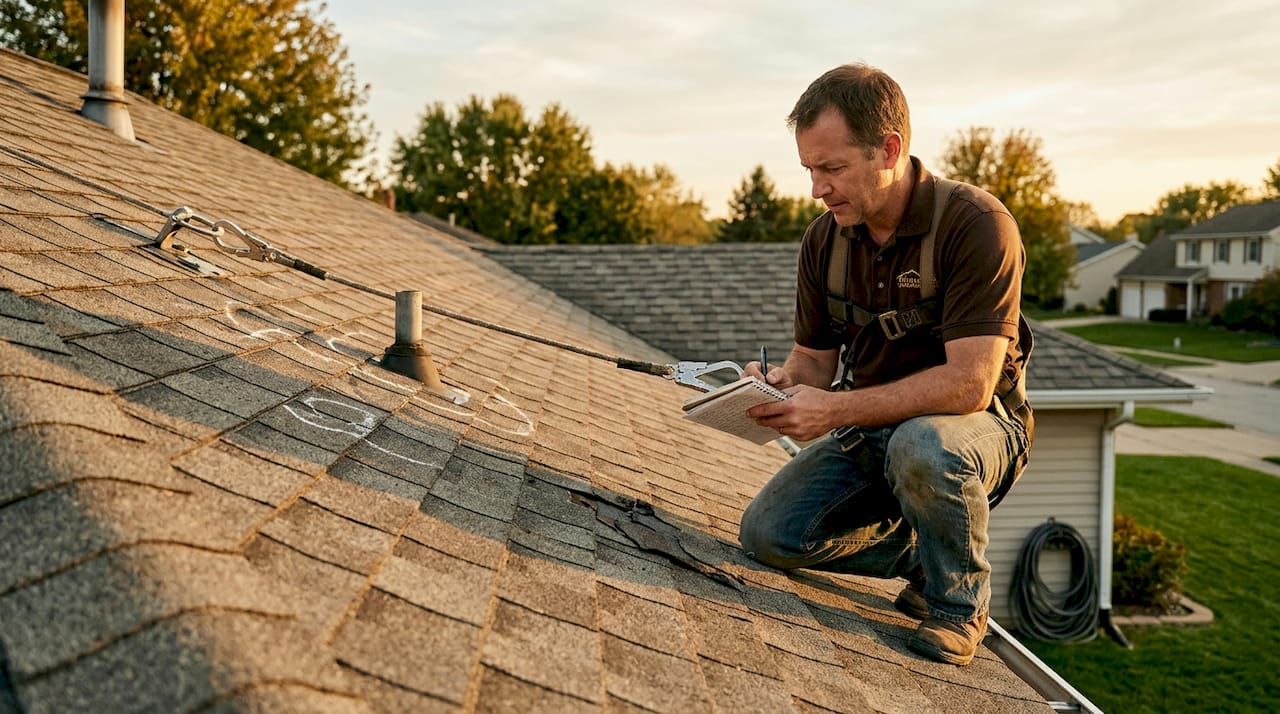
Pro Tip: Get a written report after every professional inspection, including photos. Store these digitally. If you file a storm damage claim, this documentation supports your case and speeds up the approval process. A wind mitigation inspection report from a certified inspector can also unlock insurance discounts on the spot.
Choosing the right storm-resistant roofing materials
Not every material performs the same way in every region. Your local storm risk profile should drive your material selection, not just aesthetics or price.
| Material | Wind resistance | Hail resistance | Best for | Key consideration |
|---|---|---|---|---|
| Asphalt shingles (Class 4) | Good (up to 130 mph rated) | Excellent (UL 2218) | Most US climates | Most affordable stormproof option |
| Metal roofing (standing seam) | Excellent (up to 160 mph) | Very good | Coastal and high-wind areas | Higher upfront cost, long lifespan |
| Concrete/clay tile | Good with proper installation | Good | Southwest, warm climates | Heavy. Requires engineered decking |
| Impact-modified composite | Excellent | Excellent | Hail corridors (Texas to Nebraska) | Premium cost, premium performance |
For homeowners in North Georgia, Class 4 asphalt shingles represent the best balance of cost, availability, and storm performance. They address both the wind and hail threats common to inland Georgia storms, which regularly bring golf ball-sized hail and wind gusts exceeding 70 mph.
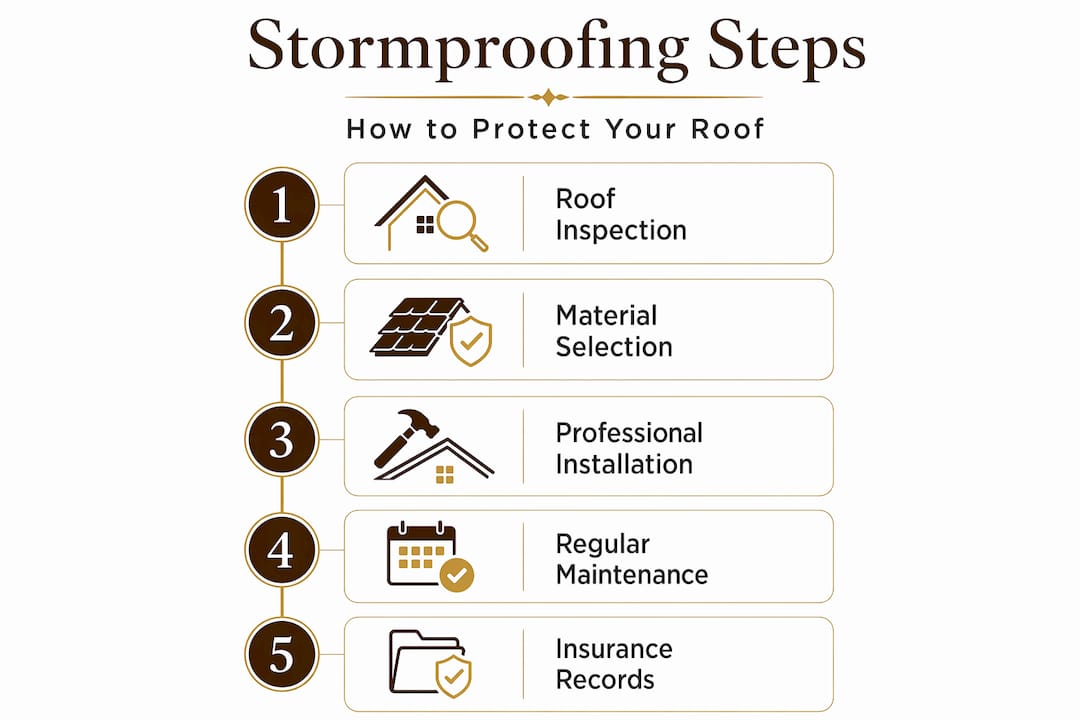
Understanding certifications matters just as much as material type. FORTIFIED Roof certification offers tiered standards, including Silver and Gold designations, that exceed standard building codes. Homes with FORTIFIED certification often qualify for meaningful insurance premium reductions, sometimes 20 to 30 percent, depending on the state and insurer. In coastal zones, windstorm certifications such as WPI-8 are required for insurance acceptance in many jurisdictions.
One important reality check: a direct Category 4 or 5 hurricane can severely damage most roofs regardless of preparation. Stormproofing reduces damage severity and protects your home’s interior. It doesn’t make your roof invincible. That’s not a reason to skip it. That’s a reason to take it seriously and document everything for your insurance claim. For seasonal guidance on protecting your roof system through winter conditions as well, winter roof protection practices complement your broader stormproofing strategy.
My perspective on stormproofing and homeowner mistakes
I’ve reviewed a lot of roofs after storms, and the failures I see most often share one thing in common: the homeowner invested in new shingles and assumed the job was done.
Roofing is only as strong as its weakest link. I’ve seen brand-new Class 4 shingles get peeled off because the installer used four nails per shingle in a wind zone that required six. I’ve seen roofs with premium materials fail completely because the attic had zero hurricane straps connecting the trusses to the walls. In both cases, the homeowner paid for quality materials. They just didn’t get quality installation or a full-system approach.
The other mistake I see constantly is skipping the post-storm inspection. Hail hits look subtle. Small dents and granule loss don’t feel urgent. But that damage creates micro-fractures that let water infiltrate over months, turning a modest insurance claim into a full replacement job. If you want to get the benefits of stormproofing roofs over the long term, you have to treat the inspection process as part of the system. Learn more about what to expect by reading our roof restoration guide, which covers how to assess and address storm wear before it becomes a major problem.
The upfront cost of a fully stormproofed roof is real. So is the cost of replacing a roof that wasn’t built or maintained to handle what Georgia storms deliver.
— Dan
Ready to protect your roof before the next storm?
Understanding roof stormproofing is the first step. Acting on it is what actually protects your home and your investment.

At Ir-ga, we specialize in storm damage restoration and stormproof roof installations across North Georgia. Our team is licensed and insured, and we work directly with insurance companies to help homeowners get maximum coverage after storm events. Whether you need a post-storm inspection, a full stormproof roof replacement, or help navigating your insurance claim, we’re here to make the process straightforward and stress-free. Start with our detailed storm damage repair guide to understand your options, or go straight to our storm damage repair service page to connect with our team today.
FAQ
What is a stormproof roof?
A stormproof roof is a fully reinforced roofing system designed to resist wind, hail, rain, and structural uplift. It includes impact-rated shingles, secondary water barriers, hurricane straps, proper flashing, and balanced attic ventilation working together.
How much does roof stormproofing cost?
The cost varies by material, roof size, and existing condition, but Class 4 shingle upgrades and added structural reinforcements typically add 10 to 25 percent to a standard roof installation. The return comes from reduced damage costs and potential insurance savings.
Does stormproofing a roof lower insurance premiums?
Yes, in many cases. FORTIFIED Roof certifications and windstorm inspection reports can qualify homeowners for premium discounts ranging from 10 to 30 percent depending on the insurer and state.
How often should a stormproof roof be inspected?
Twice a year is the standard recommendation, once in spring and once before storm season. You should also schedule an inspection within a week after any significant wind, hail, or ice event.
Can an older roof be stormproofed without full replacement?
Partial upgrades like adding hurricane straps, ring-shank nail retrofits, and improved flashing are possible on some older roofs. However, roofs older than 15 to 20 years often need full replacement to meet modern storm resistance standards reliably.