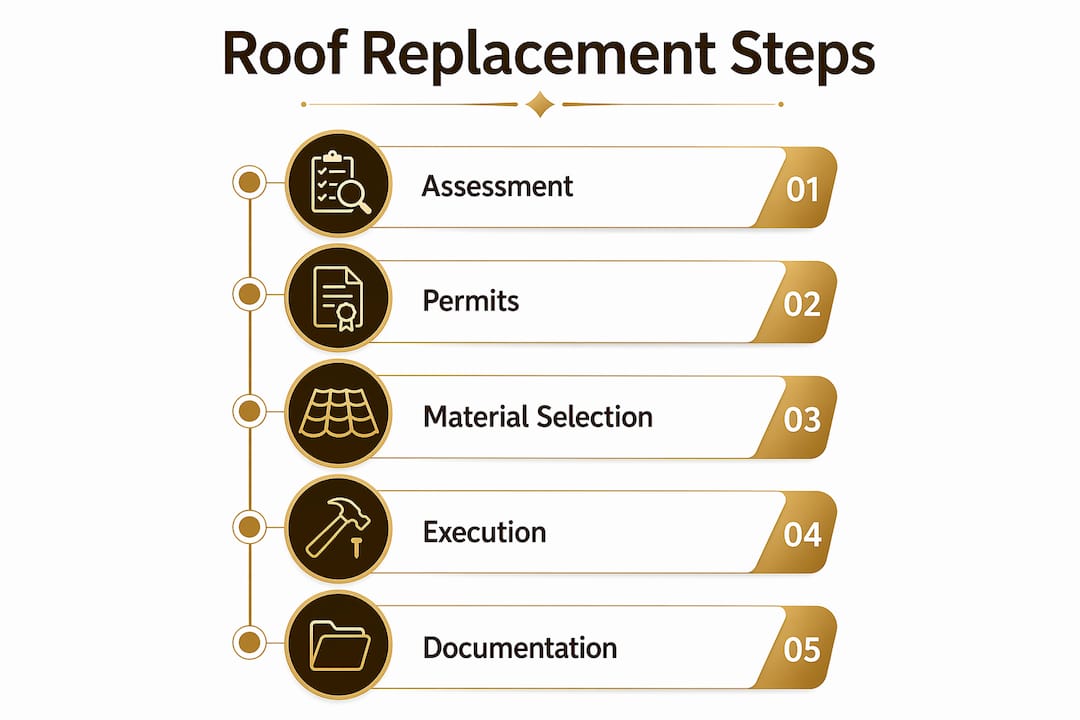
A community roof replacement is defined as a coordinated roofing project requiring simultaneous management of municipal building permits, HOA architectural approvals, licensed contractor selection, and phased documentation to meet code compliance and community standards. In North Georgia, this process is more layered than a standard single-home project. Homeowners and property managers in communities governed by HOAs face a dual approval process that, if mishandled, can trigger stop-work orders, fines, or insurance claim denials. This community roof replacement guide covers every stage: permits, materials, contractor coordination, project execution, and the documentation practices that protect your investment long after the last shingle is nailed down.
What permits and HOA approvals are required for community roof replacement?
Homeowners in Georgia must obtain both a city building permit and HOA architectural review approval before starting a roof replacement. These are entirely separate processes with different timelines, fees, and submission requirements. Missing either one can result in a stop-work order or fines that delay your entire project.
Municipal building permits are issued by your local city or county government. Full roof replacements almost always require one. Minor like-for-like repairs may be exempt, but the threshold varies by jurisdiction. Here is how three North Georgia municipalities compare:

| Municipality | Permit fee range | Review timeline |
|---|---|---|
| South Fulton | $75 to $350 | 5 to 10 business days |
| Roswell | $100 to $400 | 1 to 3 business days |
| Peachtree City | Varies by project scope | 5 to 7 business days |
South Fulton and Roswell require a building permit for full replacements, with Roswell offering a notably faster review window. That speed difference matters when you are coordinating contractor schedules across multiple units.
HOA architectural review is a separate layer. Your HOA’s Architectural Review Committee (ARC) typically requires:
- A completed permit application form
- A written scope of work from your contractor
- Manufacturer product data sheets for proposed materials
- Color samples or shingle swatches
- Site plans if structural changes are involved
HOA review timelines range from 7 to 30 days depending on how frequently the ARC meets. Submit your HOA application before you finalize your contractor contract. Waiting until after you have signed locks you into a schedule that the HOA may not honor.
Pro Tip: Submit your HOA application and municipal permit application at the same time. The two processes run in parallel, not in sequence, so starting both on the same day can save you two to four weeks.
What are the best roofing materials for North Georgia community projects?
Material selection for a community project is not purely a performance decision. HOA restrictions, neighborhood aesthetics, and Georgia’s climate all shape what you can actually install. The most common options in North Georgia are asphalt shingles, metal roofing, and concrete or clay tile.
| Material | Lifespan | Cost per square (installed) | HOA compatibility |
|---|---|---|---|
| Architectural asphalt shingles | 25 to 30 years | $350 to $550 | High |
| Metal standing seam | 40 to 70 years | $700 to $1,200 | Moderate |
| Concrete tile | 30 to 50 years | $600 to $1,000 | Low to moderate |
| 3-tab asphalt shingles | 15 to 20 years | $250 to $400 | High |
Architectural asphalt shingles dominate North Georgia communities because they are affordable, widely available, and accepted by most HOA color palettes. Metal roofing offers superior longevity and performs well against Georgia’s summer hail and wind events, but many HOAs restrict it to specific profiles or colors. Concrete tile is rare in HOA communities because of weight load requirements and limited color matching options.
Georgia’s climate adds specific performance demands to your material choice:
- Wind resistance: Look for shingles rated Class F (110 mph) or higher. North Georgia sees frequent summer thunderstorms with damaging gusts.
- Algae resistance: Algae streaking is common in humid Georgia summers. Shingles with copper or zinc granules, such as GAF Timberline HDZ or CertainTeed Landmark, resist staining.
- Energy efficiency: Lighter-colored shingles and ENERGY STAR-rated products reduce attic heat gain, which matters during Georgia’s long, hot summers.
HOA architectural review boards often require approval of specific shingle colors and manufacturer certifications. Get written confirmation of approved products before ordering materials. A mismatch between what the HOA approved and what your contractor ordered is one of the most common causes of project delays.
How to plan and execute a phased roof replacement project
A phased checklist approach is the most reliable way to manage a community roof replacement from start to finish. The roof replacement checklist divides project management into three phases: before, during, and after installation. Each phase has required documentation that feeds directly into your insurance claim and resale records.
Phase 1: Before installation
- Obtain written HOA ARC approval with approved material specifications
- Pull your municipal building permit and post it on-site before work begins
- Verify your contractor is licensed, insured, and familiar with local building codes
- Sign a detailed written contract that includes scope of work, materials, start date, payment schedule, and warranty terms
- Take timestamped photos of all existing roof damage before any work starts
- Confirm the contractor has ordered the exact approved materials
Phase 2: During installation
- Verify the permit is posted and visible before the crew starts
- Inspect roof decking condition before new underlayment is applied. Damaged decking must be replaced before covering.
- Confirm underlayment type and placement match the permit specifications
- Check flashing installation at all penetrations, valleys, and edges
- Document daily progress with photos, including weather conditions and any delays
Phase 3: After installation
- Schedule your municipal final inspection before the contractor leaves the job site
- Collect the signed inspection report and certificate of completion
- Register manufacturer warranties within the required window (typically 30 to 90 days)
- Obtain the contractor’s workmanship warranty in writing
- Send HOA a completion notice with final photos if required by your CC&Rs
Pro Tip: Ask your contractor to provide a daily photo log during installation. This protects you if a scope dispute arises and gives your insurance adjuster clear evidence of the installation quality.
Selecting the right contractor is the single most important decision in this process. Use Ir-ga’s guide on choosing a roofing contractor to verify credentials, check references, and confirm HOA and permit experience before signing anything.
For storm-related replacements, document damage within 72 hours and get a licensed roofer’s inspection before filing your claim. Most homeowners insurance policies cover replacement costs only for sudden, accidental damage such as hail, wind, or fire. Wear and tear is not covered, so the timing and documentation of your damage report directly affects your claim outcome.
What common challenges should you anticipate in community projects?
Community roof replacements have more moving parts than single-home projects, and the failure points are predictable. Knowing them in advance lets you plan around them.
“Aligning HOA-approved materials with actual contractor product availability early in planning prevents scheduling slips in community roof projects.” — RealManage Community Association Guide
The most common challenges include:
- Material availability gaps: Your HOA approves a specific shingle color, but your contractor’s supplier is backordered four weeks. This is the most frequent cause of schedule slippage. Confirm product availability before submitting your HOA application.
- Inspection failures: Failed inspections add 5 to 10 days of delay plus re-inspection fees. Work cannot proceed past a failed inspection stage. Common failure points are decking condition, underlayment placement, flashing installation, and final workmanship.
- Scope creep: Rotted decking, damaged fascia, or deteriorated flashing discovered mid-project can expand the scope and cost significantly. A detailed pre-installation inspection reduces surprises.
- Weather delays: North Georgia’s spring storm season and summer heat both affect scheduling. Rain delays underlayment and shingle installation. Extreme heat affects adhesive performance. Build weather buffer days into your project timeline.
- Documentation gaps: Missing permits, unsigned inspection reports, or unregistered warranties create problems when you file an insurance claim or sell the property. Treat documentation as a required deliverable, not an afterthought.
For insurance-related projects, coordinate with your insurer before work begins. Review Ir-ga’s insurance claim step-by-step guide to understand what adjusters look for and how to avoid claim denials.
How to maintain roof replacement documentation for insurance and resale
Keeping all roof replacement documentation in one organized folder simplifies insurance claims and future property transactions. Documents are frequently requested years after installation, and missing paperwork can reduce your claim payout or complicate a home sale.
Here is the documentation you need to collect and preserve:
- Municipal building permit (issued before work starts, signed off after final inspection)
- HOA ARC approval letter with approved material specifications
- Signed contractor contract including scope of work, materials list, and payment terms
- Before and after photos with timestamps
- Inspection reports for each inspection stage (rough-in and final)
- Manufacturer warranty certificate registered in your name
- Contractor workmanship warranty in writing
- Receipts and invoices for all materials and labor
Store one physical copy in a labeled folder and one digital backup in a cloud service such as Google Drive or Dropbox. The digital copy is what you will actually use when an adjuster or buyer requests documents on short notice. Treating roof documentation as an essential deliverable reduces friction for insurance disputes and resale, since these documents are often requested long after installation.
Verify that your final municipal inspection is signed off before your contractor receives final payment. An unsigned inspection report means the project is not legally complete, which creates liability for you as the property owner.
Key takeaways
A successful community roof replacement in North Georgia requires dual municipal and HOA approvals, material selection aligned with community standards, phased project execution with a licensed contractor, and organized documentation preserved for insurance and resale.
| Point | Details |
|---|---|
| Dual approval is mandatory | Obtain both a city building permit and HOA ARC approval before any work begins. |
| Material alignment prevents delays | Confirm HOA-approved materials are in stock with your contractor before submitting applications. |
| Phased checklist protects you | Follow before, during, and after installation checklists to avoid inspection failures and scope disputes. |
| Documentation is a deliverable | Store permits, warranties, photos, and inspection reports in both physical and digital formats. |
| Insurance timing is critical | Document damage within 72 hours and get a licensed inspection before filing any claim. |
What I have learned managing HOA roofing projects in North Georgia
After working on community roofing projects across Paulding, Cherokee, and Cobb counties, the pattern I see most often is this: homeowners wait until they have a signed contractor contract before contacting the HOA. That sequence costs them weeks every time.
The HOA ARC does not care about your contractor’s schedule. They meet when they meet, and if your application is incomplete, you go to the back of the line. Start the HOA material and color approval process the moment you decide a replacement is needed, not after you have chosen a contractor. Bring color samples and manufacturer data sheets to that first HOA conversation. It signals that you are organized and reduces back-and-forth.
The second thing I tell every property manager: build a daily photo log into your contractor agreement as a contractual requirement, not a request. Daily photo documentation and weather delay logs improve transparency and give you a defensible record if a scope dispute or insurance question comes up later. I have seen this log resolve a $12,000 dispute in a single conversation with an adjuster.
Finally, hire local. A contractor who has pulled permits in South Fulton or Roswell before knows the inspectors, knows the common failure points, and knows how to schedule re-inspections without losing a week. That local knowledge is worth more than a slightly lower bid from someone who has never worked in your municipality.
— Dan
How Ir-ga helps North Georgia communities replace roofs the right way
Ir-ga (Infinity Roofing GA) has been serving homeowners and property managers across North Georgia since 2018, with direct experience navigating HOA approvals and municipal permits in Paulding, Cherokee, Cobb, and Fulton counties. We handle the full project from permit application through final inspection sign-off, so you are never left managing paperwork alone.

Our team is licensed, insured, and familiar with the specific requirements of North Georgia’s permitting environment. We provide complete documentation packages including contracts, inspection reports, and warranty registration support. If your project involves storm damage, we also manage the insurance claim process from first inspection to final settlement. Start with our step-by-step replacement guide or contact us directly for a same-day estimate.
FAQ
What triggers a roof replacement permit in North Georgia?
A full roof replacement triggers a building permit requirement in most North Georgia municipalities, including South Fulton, Roswell, and Peachtree City. Minor like-for-like repairs below a certain scope threshold may be exempt, but confirm with your local building department before starting any work.
How long does HOA approval take for a roof replacement?
HOA architectural review typically takes 7 to 30 days depending on how frequently the ARC meets and whether your submission is complete. Submit manufacturer data sheets, color samples, and a written scope of work to avoid delays.
What documents do I need after a roof replacement?
You need the signed building permit with final inspection sign-off, HOA approval letter, contractor contract, before and after photos, manufacturer warranty certificate, and contractor workmanship warranty. Store copies both physically and digitally.
Does homeowners insurance cover community roof replacement costs?
Most policies cover replacement costs only for sudden, accidental damage such as hail, wind, or fire. Document damage within 72 hours and get a licensed roofer’s inspection before filing a claim to maximize your coverage.
What are the most common reasons roof inspections fail in Georgia?
The most common inspection failures involve roof decking condition, underlayment placement, flashing installation at penetrations and valleys, and final workmanship quality. Failed inspections add 5 to 10 days of delay plus re-inspection fees, so address these areas carefully during installation.